 I decided to make my poster landscape style. I divided the poster into two sections.
Step 2:
 I used the Pen tool as well as the the shape tools. I created an image of a city. If u look closely, You can see the shapes of "CO2", a car and others such as buildings and factories. All these are representations of global warming.
Step 3:
 I copied over the image of the city from assignment 2.
 I also experimented with some swatches colours. Choosing the right colours for the poster.
Step 4:
 In tutorial class, We learnt how to use the 3D effects. So I decided to incorporate 3D effects in the lower part city. Using the "extrude and bevel". I experimented few times on the Betrude depth, the height, the bevel and the position.


 Step 5:
 I added in text to the poster.I experimented on the fonts. Finally I found a suitable font for the text. Using the font, "Gils San Ultra Bold".
Step 6:
 I created a background for the lower part. Using the gradient effect. Showing a brighter side of the city. Using a soft, cooling colour, BLUE. A little bit of white here and there. In the upper part, I used more dark colours. Black, grey and a slight white at the end.
Step 7:
 I did some adjustments with the 3D effect.
 Final Step:
I did some adjustments here and there. Adding in more text. I downloaded some fonts online to use it in my poster.
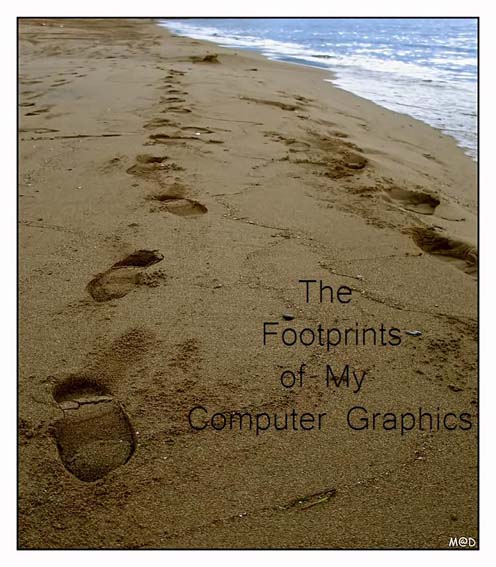
 Finalization of my poster.
Thus,
this is my poster.

No comments:
Post a Comment