The Progress.
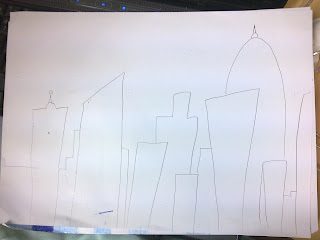
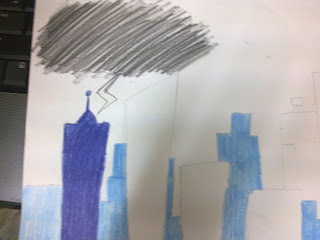
Step 1: I did some sketches. A rough idea of how I wanted my illustration to look like.
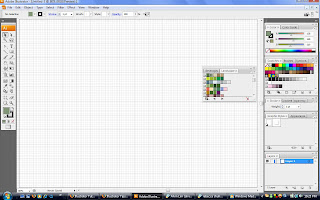 Step 2: I started of by adding the grid, ruler and some personalize swatches.
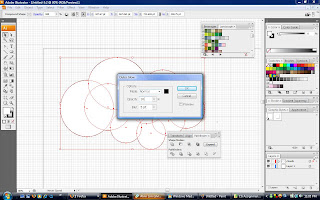
 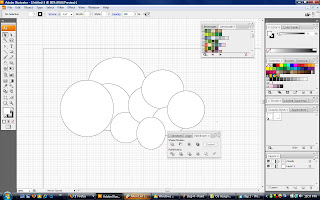 Step 3: I created another layer for the clouds. I first used the shape tool by using the eclipse shape to create a cloud-like shape.
 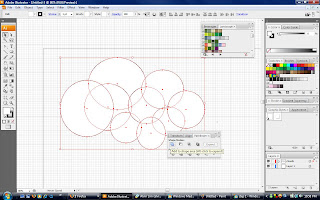 Step 3: I "select all" the circles and used the pathfinder. I click on the far left icon.
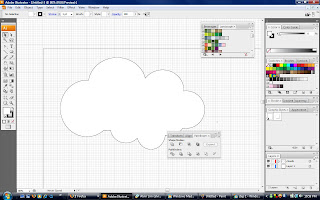
Step 4: Thus, I will have a cloud shape.
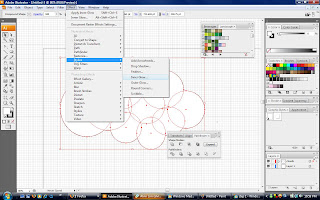
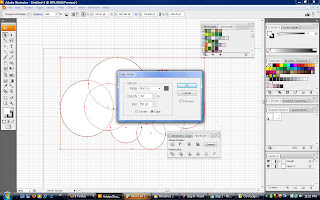
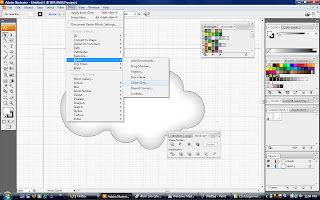
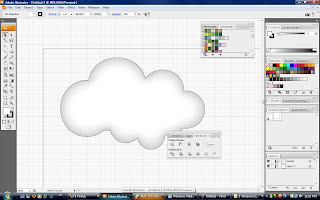
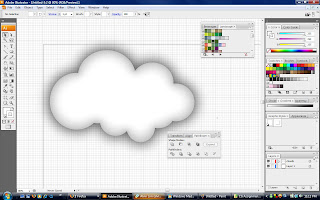
Step 5: I then "select all" the cloud and use the stylize tool. Using the "inner glow" and outer glow, The cloud looked more realistic
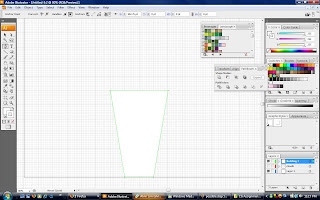
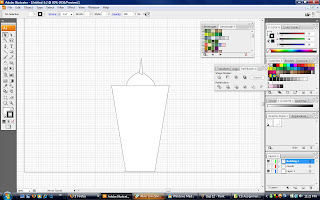
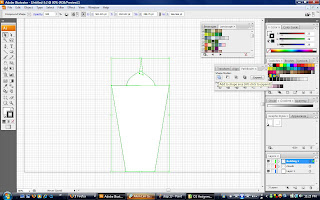
Step 6: I used the pen tool to create the first building.
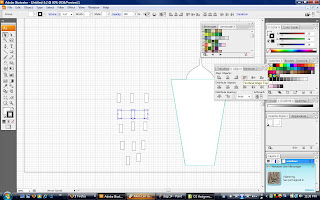 Step 6: I also used the pen tool to create windows for the building. All these I separated them into a few layers
 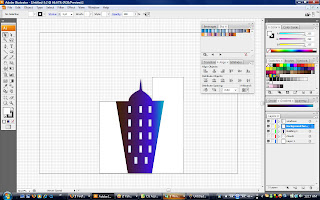 Step 7: I then added colour into the building. I use the gradient effect for the building. All the colours were taken from personalize swatches
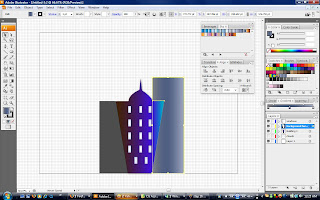 Step 8: Then, I created two background buildings using the pen tool.
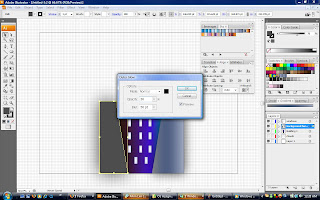 Step 8: I also used the stylize tool where I added inner glow and outer glow to the buildings as well as the windows. I used some 'landscape' liked colours from the swatches.
 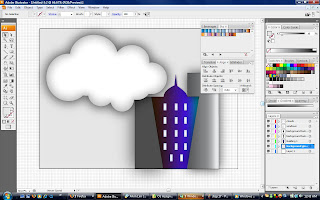 Step 9: this was the outcome.
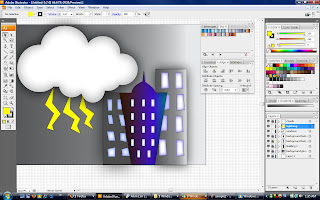 Step 10: I wasn't satisfied with the outcome. So i added some stuff. I added lightning rods using the pen tool and coloured it yellow. I added some windows which i created using the pen tool. I used the stylize tool as well and added some inner glow and outer glow. I created a background. I used the shape tool to create a rectangle for the back and used the gradient tool.
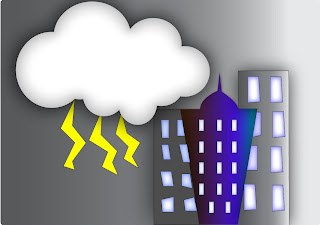 This is my final product. I know it's a little too simple.
Last step:
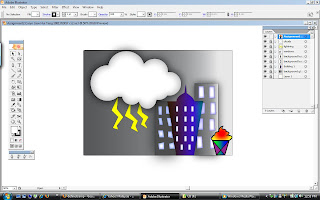 I forgot to add my logo from my assignment 1. = P
So I created another layer for the logo. Each item in the illustration has its own layer.
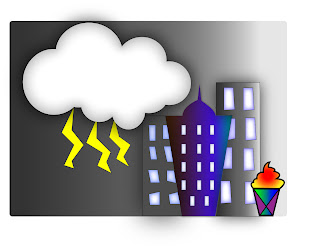
Final final final Image = )

No comments:
Post a Comment